How To Cut Down A Small Tree
HOW TO CUT DOWN A SMALL TREE
GET A FREE ESTIMATE TODAY!
To cut down a small tree you’ll need the right knowledge, safety equipment, planning, and a chainsaw. Planning where the tree will fall after you cut it with the chainsaw is the most important thing apart from safety.
STEPS TO CUT DOWN A SMALL TREE
Safety is always priority #1 and if you’re not absolutely certain you can cut down the tree without injury or damaging housing, call for professional tree removal! Follow these steps to cut down a small tree or call the tree removal professionals at Phoenix Trim-A-Tree.
1. GATHER TOOLS & SAFETY EQUIPMENT
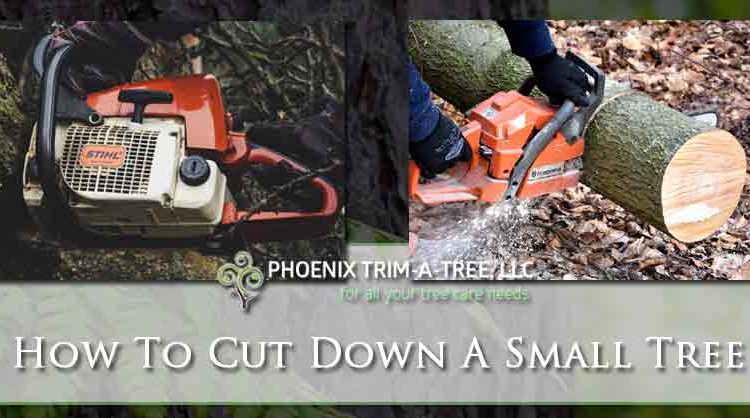
To cut down a small tree you’ll need a chainsaw, eye protection, and ear protection. Consider also wearing clothing that isn’t loose fitting. This is the point where you want to make sure your chainsaw is in good condition and you know how to use it.
2. EXAMINE THE TREE’S SURROUNDINGS
Be aware of what’s within the tree’s potential path when it falls. If there are houses, sheds, power lines, or livestock you should call for professional tree removal. The internet is awash with videos of people who tried to fell their own tree and it land on their home, car, or other property. People should be at least 2 times the distance of the height of the tree while you’re cutting it down.
3. CHOOSE THE DIRECTION THE TREE WILL FALL
If the tree leans in a direction that’s safe to fall you should plan to work with the tree. Whichever direction you choose to fell the tree make sure you’ve got clear lines for escape should it not go as planned. You should plan to escape away from the tree opposite to where it’s falling. Plan to do this at a 45° angle. This takes you out of the danger zone of the trunk of the tree settling straight backwards.
4. CUT A DIAGONAL LINE TO START
The next step is to cut a 70° cut on the side you’re planning for the tree to fall. To do this put the tree on your left side and brace your left shoulder against the tree. Some chainsaws will have a sight that tells you the angle you’re cutting at, use this as a guide if you have it. Make the cut so it is about ¼ of the tree’s overall width.
5. MAKE A RELIEF CUT
The next step is to make a horizontal cut at the deepest point of the cut you made at the last step. This will cut a triangle section of tree out of the tree and help encourage the tree to fall in the planned direction. Inspect the cut and direction the open area of the tree is facing. If it doesn’t look right you should call for professional help to remove your tree. Making more cuts at this point risks it falling in the wrong direction.
6. FELL THE TREE
If you’re 100% sure the cut is facing the right direction you can move on to felling the tree. To do this you will move to the opposite side of the wedge you’ve cut. This cut should start slightly higher than the last horizontal cut. Do not saw all the way through, rather saw just enough to drive a wedge into your cut. You’ll want to have the wedge in but still have enough room to operate the chainsaw without it touching the wedge. Leave about 10% of the center of the tree which will help the tree stay on the stump instead of kicking off and changing direction. At this point you can wait for it to fall or gently push the tree and be read to use your 45° angle escape routes.
REMOVING THE CUT DOWN TREE
Now that the tree is down laying on your landscape you’ve got to get it removed or chopped up into firewood. To start this you’ll need to remove the branches from the tree. Next you’ll need to chop the trunk up into manageable sections.
REMOVE BRANCHES FROM TREE
This process can still be dangerous as branches and limbs can be under tension from falling. Carefully begin at the lowest part of the trunk and remove the branches by cutting them safely with your chainsaw. You can do this by either cutting up or down with your chain saw about half way through the branch. Next cut the other side about 1 inch closer to the trunk than your first cut. These offset cuts help prevent the saw from binding or kicking back. Avoid cutting branches that you can see are supporting the weight of the felled tree. These can spring out and injure you quite badly. Instead cut off the branches that are free of tension and roll the tree later to expose the remaining branches.
CUTTING THE TREE TRUNK
The next step is to process the trunk of the tree. It should be free of branches, limbs, or twigs at this point. Use the offset cutting process at points where you believe the tree will settle and squeeze the saw blade. If it binds it can kick the chainsaw back violently and injure you. By cutting half way through on one side and then finishing the cut on the opposite side at a 1 inch offset you have more control and it’s safer. As you cut the trunk into smaller and smaller pieced be careful cutting directly on the ground. Cut half way through and then roll the log and finish the cut on the other side. Cut the sections of the tree trunk into sections that are lite enough to handle and even to chop later with a wood splitter or axe for firewood.
PHOENIX VALLEY TREE REMOVAL
If you don’t have the tools, time, or want to risk your safety or your home call for professional tree removal. Our team plants, cares for, and removes trees; so we know the ins and outs of how trees grow and how to remove trees safely. Phoenix Trim-A-Tree is licensed and insured for your peace of mind as we preform tree removal or any of our other services. Call today to get that old, dying, or dead tree removed from your property in the Phoenix Valley of Arizona.